 Introduction video
You know these moments.
Yet another case I had to send out.
The patient asks when it will be ready — and I depend on someone else’s timeline.
I made the provisional by the direct technique and I know it could have been better.
I have thought about going digital, but the software licence held me back.
It is not a lack of ability. You were sold a toll gate: the idea that, to enter digital dentistry, you first have to pay dearly for software.
The software that does this work is free. What was missing was someone showing you the step by step.
What dependence really costs
Time
Every piece made elsewhere joins someone else’s queue. Your patient waits with you.
Money
Every outsourced case is a cost that returns with the next case. And the one after.
Control
The part of the work the patient sees and judges stays outside your chair.
A single outsourced provisional crown already pays for much of the course. Here you learn to make as many as you want — forever.
To start, you do not need to buy anything.
Official Autodesk download
There is no licence
No subscription, no renewal
The practice files come with the course
You learn to model without one
A current Windows or Mac runs it
Barrier to entry: zero. Install today and start practising today.
Three steps. Always in the same order.
Prepare
Open the patient’s scan and get the model ready to work on.
Model
Crown, bridge, splint or guide — knowing which tool to use at each moment, no hunting for buttons.
Check the file has no errors and send it to the printer. The piece comes out just as you drew it on screen.
Prepare. Model. Print. That is what you repeat in every case.
By the end, you will know how to:
24 modules in five stages
Tap a module to see what you will be able to do.Pick a stage and click a module to see what you will be able to do.
Install the program and learn to move around in it.
MOD.00Welcome & Orientation
Meet your instructors, discover exactly what you'll achieve by the end, and access all included materials — PDFs, STLs, and lessons.
MOD.01Installation & Setup
Install the software for free (Windows or Mac), import dental STL libraries, and open your first STL file on screen.
MOD.02Interface & Navigation
Navigate 3D space with confidence, access the right tools at the right time, and gain speed with shortcuts nobody tells you about.
MOD.03Model Trimming & Internal Relief
Learn to create standardized bases and perfect internal reliefs — the two techniques that separate models that print from those that fail.
The tools you will use in every case.
MOD.04Object Selection & Manipulation
Select any part of the model, move it with precision, deform it anatomically, and separate composite pieces — all with fast shortcuts.
MOD.05Virtual Extraction & Mirroring
Extract teeth virtually to plan extractions and create mirror images in seconds to restore lost symmetry.
MOD.06Brushing & Digital Sculpting
Master all of MeshMixer's sculpting brushes — from bilateral symmetry sculpting to anatomy stamps — and customize any piece.
MOD.07Exploring Sculpting Tools
Put everything you've learned into practice: recreate the anatomy of a provisional crown from scratch on a real preparation, with occlusal verification.
MOD.08Digital Wax-Up with Libraries & Freehand
Learn digital wax-up with ready-made tooth libraries and with total creative freedom — using 100% free tools like Dentbird.
MOD.09Creating Your First Indirect Restorations
Create complete crowns from scratch using a tooth library or mirroring. Watch your first restoration take shape and get ready to print.
Crowns, bridges, implants and splints — with real cases.
MOD.10Provisional Crown 'Eggshell' Technique
Use the original tooth's anatomy to create provisionals with uniform thickness and perfect fit on the preparation — flawless results.
MOD.11Provisional Fixed Bridge
Unite teeth, create the pontic with ideal resistance thickness, and validate the entire structure before using a drop of resin.
MOD.12Provisional Crown on Implant
Position the analog and abutment, build the crown with the correct emergence profile, and export each component with millimeter precision.
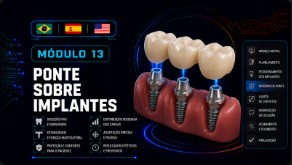
MOD.13Implant-Supported Bridge
Manage multiple implants simultaneously with Object Browser, align parallelism, and export each component separately.
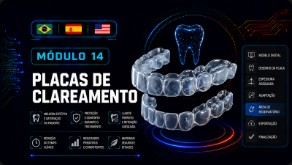
MOD.14Bleaching Trays
Create custom-fit trays with uniform thickness and gel reservoir — ready for flexible printing and same-visit delivery.
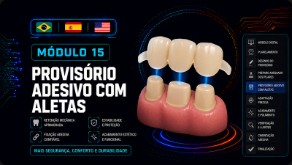
MOD.15Adhesive Maryland Provisional
Create Maryland-type adhesive restorations with precise retention wings and verified proximal contacts — all before printing.
Bruxism splint, implant guide and bone model.
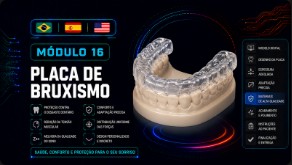
MOD.16Occlusal Splint (Bruxism Guard)
Create rigid, anatomical occlusal splints from scratch — correct thickness, cusp coverage, perfect retention, and export for rigid printing.
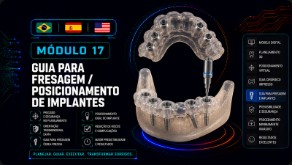
MOD.17Implant Surgical Drilling Guide
Plan and print initial drilling guides — more safety during surgery, more precision in implant placement, and lower cost.
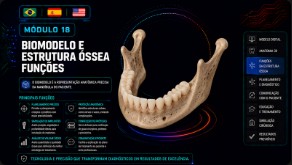
MOD.18Biomodel & Bone Structure
Transform CT scans into real anatomical models for surgical planning and patient communication — cases that impress.
Fix errors and print the piece, start to finish.
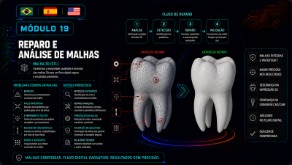
MOD.19Mesh Repair & Analysis
Detect holes, errors, and non-manifolds before printing. Super Q, Inspector, and Make Solid — your quality checklist before every piece.
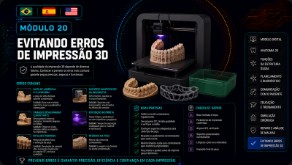
MOD.20Avoiding Print Failures
The most common errors that ruin prints — and how to avoid all of them. Orientation, overhangs, minimum thicknesses, and adhesion in practice.
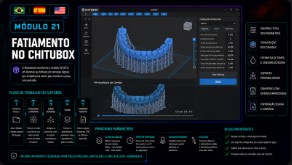
MOD.21Slicing in Chitubox
Import, position, and configure any piece in Chitubox for dental resin printing — supports, layer settings, and accurate export.
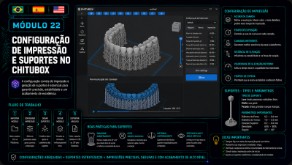
MOD.22Supports & Print Settings in Chitubox
Analyze overhangs in MeshMixer and configure automatic and manual supports in Chitubox — complete digital workflow integration.
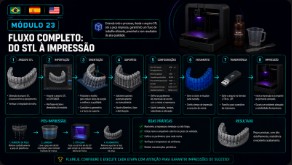
MOD.23Complete Workflow: From STL to Print
Complete clinical case from start to finish: everything together, crystal clear. Checklist, troubleshooting, and your next steps in digital dentistry.
Inside the platform
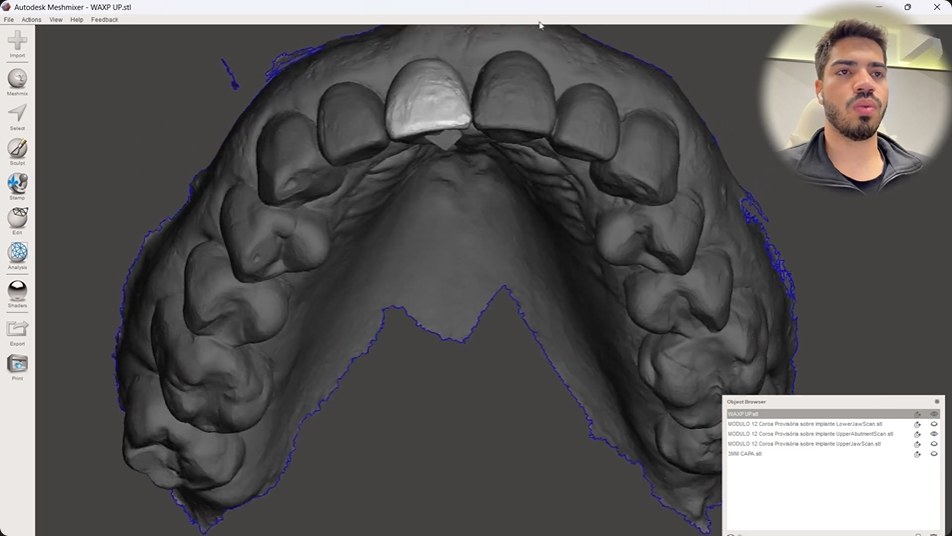
Swipe to see the modules
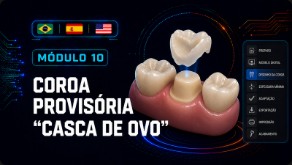
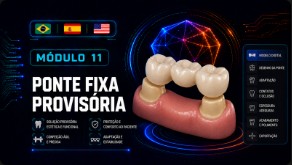
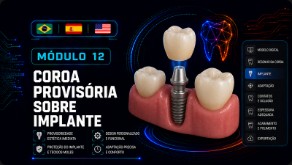
Included in your access
3D Printing in Practice
From the screen to the piece in your hand
Printer, resin and finishing the piece: what happens after the file leaves MeshMixer.
You may be thinking:
I have never opened 3D software.
The course starts from absolute zero. The first module is downloading and installing.
I have no printer or scanner.
You do not need one to start. The practice files come with the course.
My computer is basic.
MeshMixer is lightweight. If your computer runs a current Windows or Mac, it runs the course.
Is it worth the investment?
The software is free. You already have the computer. The only investment is learning — and you still have 7 days to try it with a full refund.
The software was always free. Now you have the step by step.
Today
- Sends the case out and waits
- Opens MeshMixer and does not know where to start
- Thinks an expensive program is needed
After the course
- Prepare the file yourself
- Do the case on your own screen
- Print without errors
- 24 video modules · 10+ hours
- 100-page step-by-step PDF
- Files for practice
- Bonus: 3D Printing in Practice
- Certificate of completion
- Lifetime access and future updates
- 100% free software
What it costs to start
- MeshMixer softwareFree
- Licence and subscriptionFree
- Protocolo MeshMixer courseR$ 197
R$ 197
One-time payment · converted to your currency at checkout
Start nowSATISFACTION GUARANTEE
Try Protocolo MeshMixer for 7 days
Get immediate access to all modules, supplementary materials, and STL files. If within 7 days you decide the course is not for you, we refund 100% of the amount paid, no hassle.
🛡️ Zero risk for you.
After purchase
- Payment approved
- Access arrives in your inbox
- You can start right away
Price in Brazilian reais (BRL). At checkout, payment is automatically converted to your local currency.
Is this for you?
It is for you if
- You are a dentist and want to enter digital dentistry without paying for a licence
- You are a student and want to graduate already modelling
- You run a clinic and want to produce provisionals, splints and guides in-house
- You are a dental technician and want to produce more pieces in your own laboratory
- You have never opened 3D software
It is not for you if
- You want a course on a specific paid program
- You want complex definitive prosthetics — dedicated paid programs exist for that
- You expect results without opening the program and practising
Learn from those who live digital dentistry

Dr. Igor Amaral
Instructor & co-founder
Specialist in radiology and digital dentistry. Specializing in implantology.
@dr.igoramaral
Dr. Luan Parrela
Instructor & co-founder
Specialist in radiology and digital dentistry. Specializing in implantology.
@drluanparrelaWe have used MeshMixer for over 8 years. Every module was built from real clinical cases.
Frequently asked questions
What exactly is the Protocolo MeshMixer?
Who is this course for?
- Dentists who want to enter the digital dentistry workflow
- Dental students who want to get ahead of the market
- Dental technicians who work or want to work with digital files
- Dental clinics looking to digitize their fabrication processes
- Dental hygienists seeking to expand their role in the digital clinical workflow
How many modules does the course have and what will I learn?
- Software installation and setup
- Interface, navigation and keyboard shortcuts
- Model trimming and internal relief
- Provisional crowns and bridges (Eggshell technique)
- Crowns and bridges on implants
- Occlusal splint and surgical guide
- Bleaching trays
- Maryland adhesive restoration
- Virtual extraction and mirroring
- Digital sculpting with brushes
- STL mesh repair and analysis
- Slicing in Chitubox and print configuration
- Complete workflow: from STL to clinical 3D print
Is the course live or recorded?
Will the course be updated? Do existing students pay again?
Is MeshMixer really free? Are there any hidden costs?
Do I need to know English to use the software?
Does it work on Windows and Mac?
Does my computer need to be powerful? Is there a minimum spec?
Do I need a 3D printer to take the course?
Do I need an intraoral scanner or 3D camera?
How long do I have access to the course?
Where is the course hosted? Do I need to install anything?
Does the course include a completion certificate?
I have questions during the course. How do I get support?
What is included in the course access?
- ✓ 10+ hours of video with real clinical cases
- ✓ 100-page step-by-step PDF
- ✓ STL files to practice from the very first module
- ✓ Completion certificate
- ✓ Future updates at no extra cost
- ✓ Lifetime access to the platform